Tarps News Categories
How to Build a Canopy Using PVC Pipes and PVC Tarp
To build a canopy, you need PVC pipes, tees, elbows, solution for connecting the PVC pipes, PVC pipe cutter, and of course the PVC Tarp. You can easily build this canopy according to your porch area.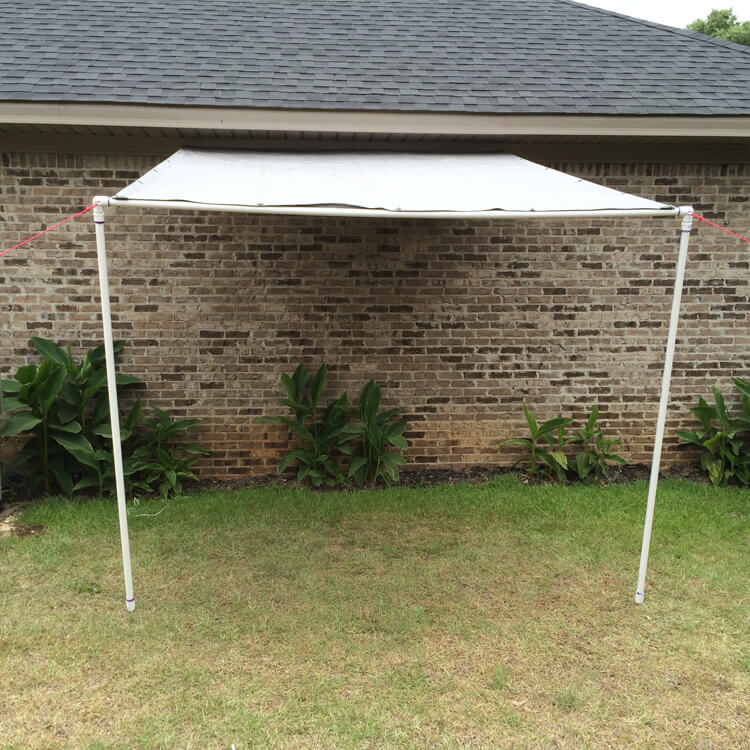
First thing to make is the canopy frame. Find out the size of the area before making a frame. Cut the pipes according to the length of your desired length. The frame could be square or rectangle, according to your needs. Make the frame into the desired shape by customizing the length of the cut pipes. The length of the frame is the longest part; therefore, it is not good to make it so long to avoid weighing down in the middle. If it is too long, it helps if there is a pipe that runs across the middle of the length. There should be enough number of pipes that run the length of the canopy. It is best to have one in every two feet of the width. These keep the PVC tarp from weighing down between the gaps. Weighed down parts of the tarp may catch rainwater and other debris instead of letting them slide down. The pipes should also hold the PVC tarps moothly and firmly.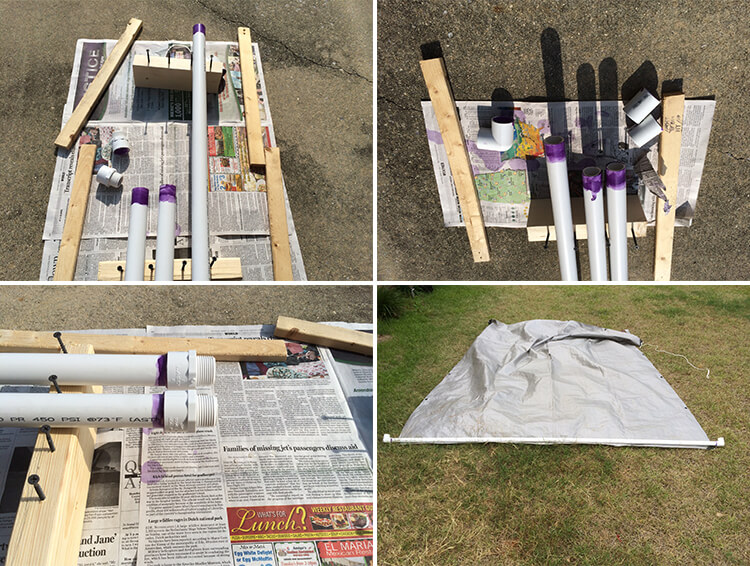
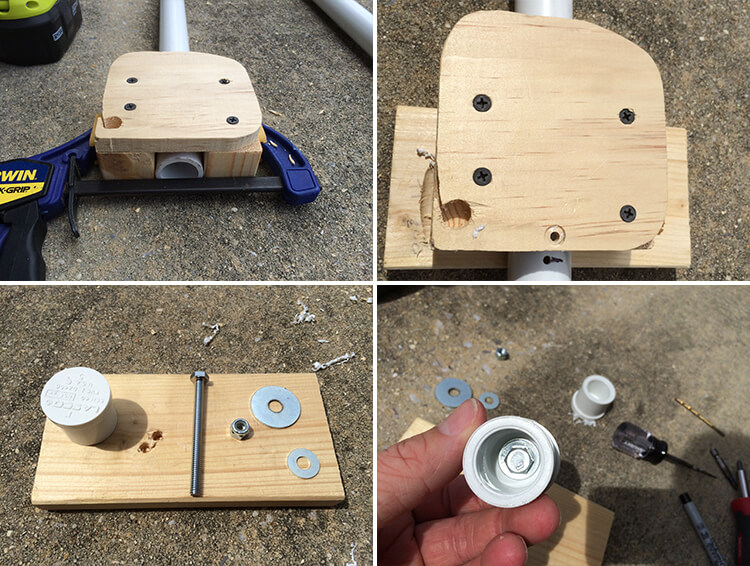
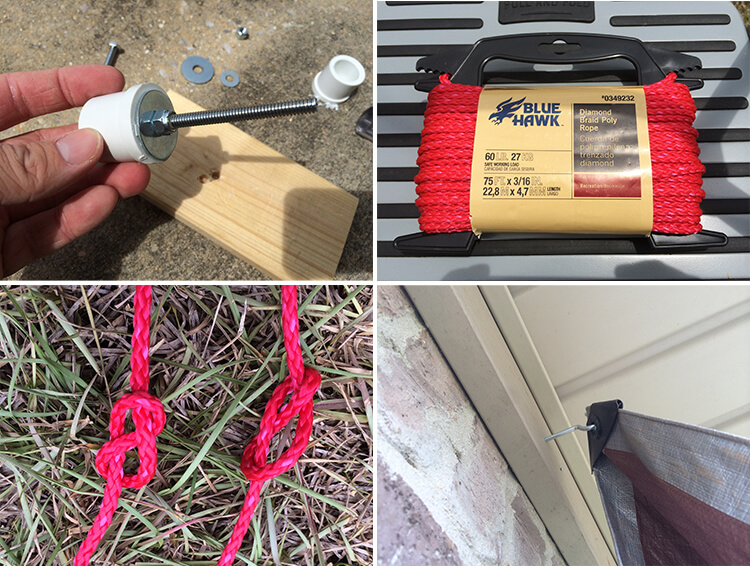
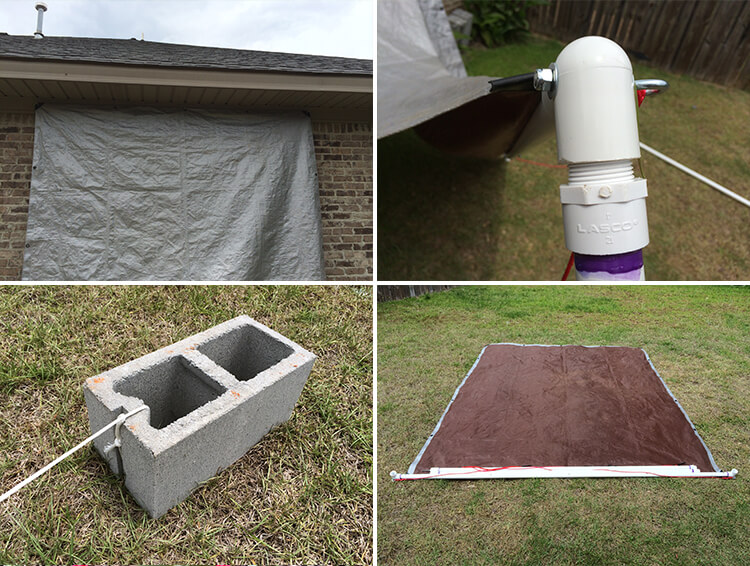
Connect the cut PVC pipes to the tees and elbows with PVC cement solvent. Be sure the joints are sturdily connected.
Then, spread the PVC tarp over the frame. Use cable ties to secure the edges of the PVC tarp to the pipes. The PVC tarp should be tightly secured to avoid flapping in the wind.
Finally, set up your frame above the porch. One length of the frame should be attached to the wall of the house. The other length should have poles on the two corners that run down to the ground or floor. The poles should be at least 2 inch in diameter. Steel pipes are the best for this. You can also use lumber. This side of the frame should be lower than the side that is attached to the wall of the house. This will let rainwater slide down easily.
You can now enjoy the shade on your porch! 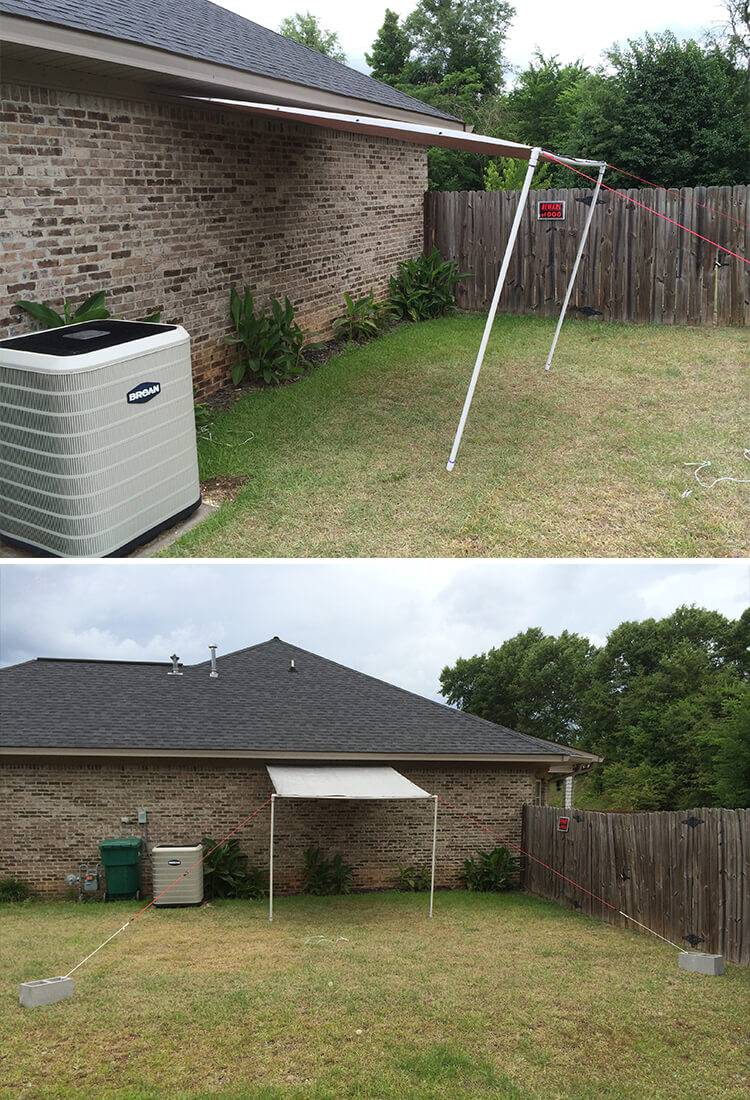
you may also like
- PVC knife coating fabric raw material for truck cover-Black
- 16' x 16' Clear Vinyl Tarp - 20 MIL - Fire Retardant Clear Vinyl
- Heavy Duty Vinyl Coated Mesh Tarps Protection for Trailers
- Flatbed PVC Coated 14oz Lightweight Lumber Tarps
- Heavy Duty Black Color PVC Mesh Tarp For Truck
- 8' x 10' Clear Vinyl Tarp - 20 MIL - Fire Retardant Clear Vinyl
- 8'x8' Clear Heavy Duty Waterproof Tarpaulin Sheet TARP Cover with Eyelets
- 750G Keder Tent Material White
- Crystal Clear PVC Tarp Waterproof Printable Reflective Tarpaulin
- 24' X 28' (8' Drop & Flap) Super Lightweight Flatbed Trailer Lumber Tarp - 10 Oz. Black Tarp
others also viewed
- Which Colour Tarpaulin Is Best?
- Ideal Winter Solution for Outdoor Courtyards: Clear Vinyl Tarps with Grommets
- Five methods of making pvc vinyl fabric
- How to Assemble PVC Tarp Dome
- How to Fold Lumber Tarps
- Which Material is best for Tarpaulin?
- What is the Longest Lasting Tarp Material ? (2)
- Jumtarps Tell You How To Choose The Right PVC Vinyl Tarp
- How to distinguish the quality of tarpaulins? What are the characteristics of PVC-coated fabrics?
- What Materials Are Used for Tarpaulin? – A Manufacturer's Perspective